Screen recording is one feature you easily forget exists, until suddenly you really need it. Maybe you want to capture an Instagram moment you can download, or show someone how to navigate an app; knowing how to screen record makes life a lot easier.
This article breaks down everything, from turning on the screen recording feature to capturing your screen with or without audio. We’ll then take it a step further and show you how to edit your clips and fix common issues. Read on to master how to screen record on your iPhone.
What you need before you start
Check these before you start recording your screen:
- Update software: You don’t need to be on the very latest iOS, but it’s recommended that you ensure your iPhone is fairly updated. This helps prevent those random glitches.
- Have enough space? Whatever you record is usually saved as a video file. A big chunk of your storage space may be used up, especially if you record several things, each taking a couple of minutes. If your iPhone storage is insufficient, the recordings may not save.
How to add screen recording in Control Center
Have you checked your phone but can't find the screen recording icon in your Control Center? Don't stress. In some cases, this button may not be visible, which requires users to add it manually. Here’s how to go about it:
Through settings
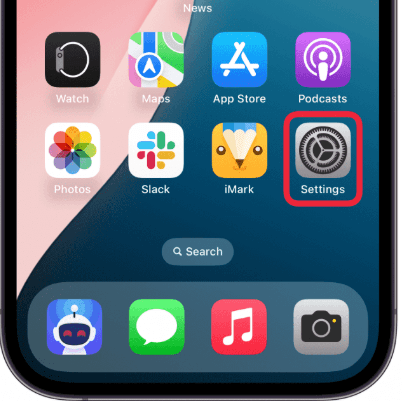
- Go to the settings app on your phone.
- Scroll down and tap on Control Center.
- Scroll down to the “More Controls” section and tap the green plus (+) button. You will find the button next to screen recording.
Via the Control Center
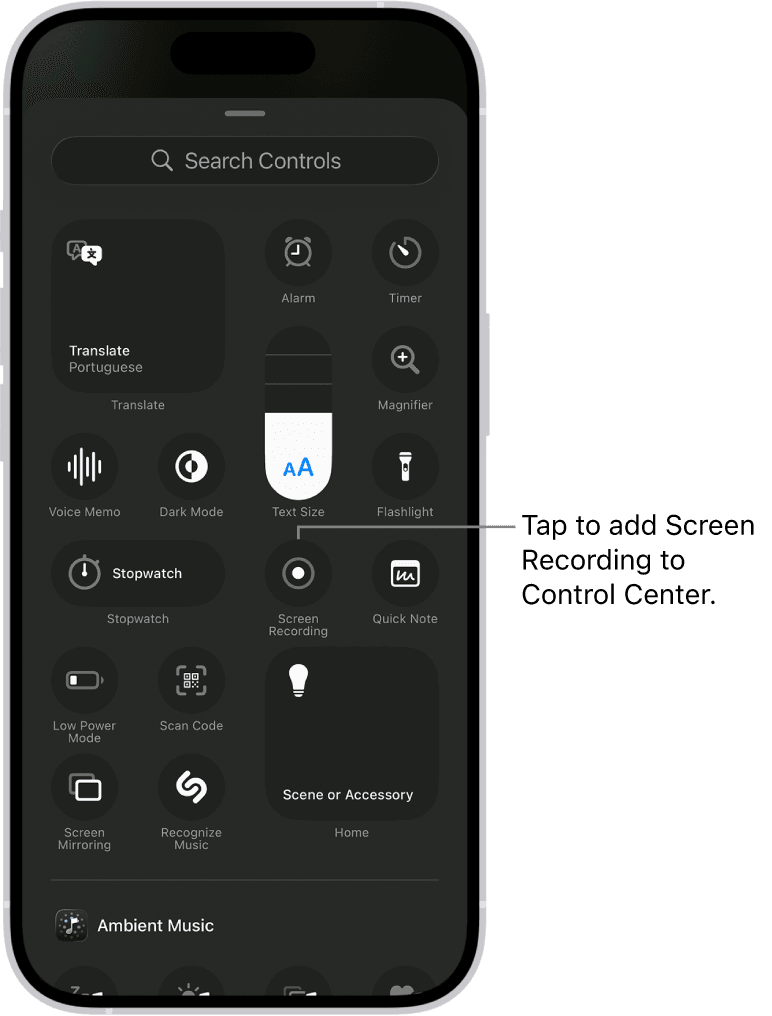
- Swipe down from the top-right corner to open the Control Center.
- Tap ‘Add a Control.’
- In the list of controls, tap the green (+) icon next to screen recording.
After this, the screen recorder will be a swipe away.
How to start a screen recording
Now onto the fun part, the actual screen recording. You can choose to record with audio or without. Here is how you do with each option:
With audio
Screen recording with audio essentially means you will be recording with your voice or background sound. To include external audio in your screen recording, use these simple steps:
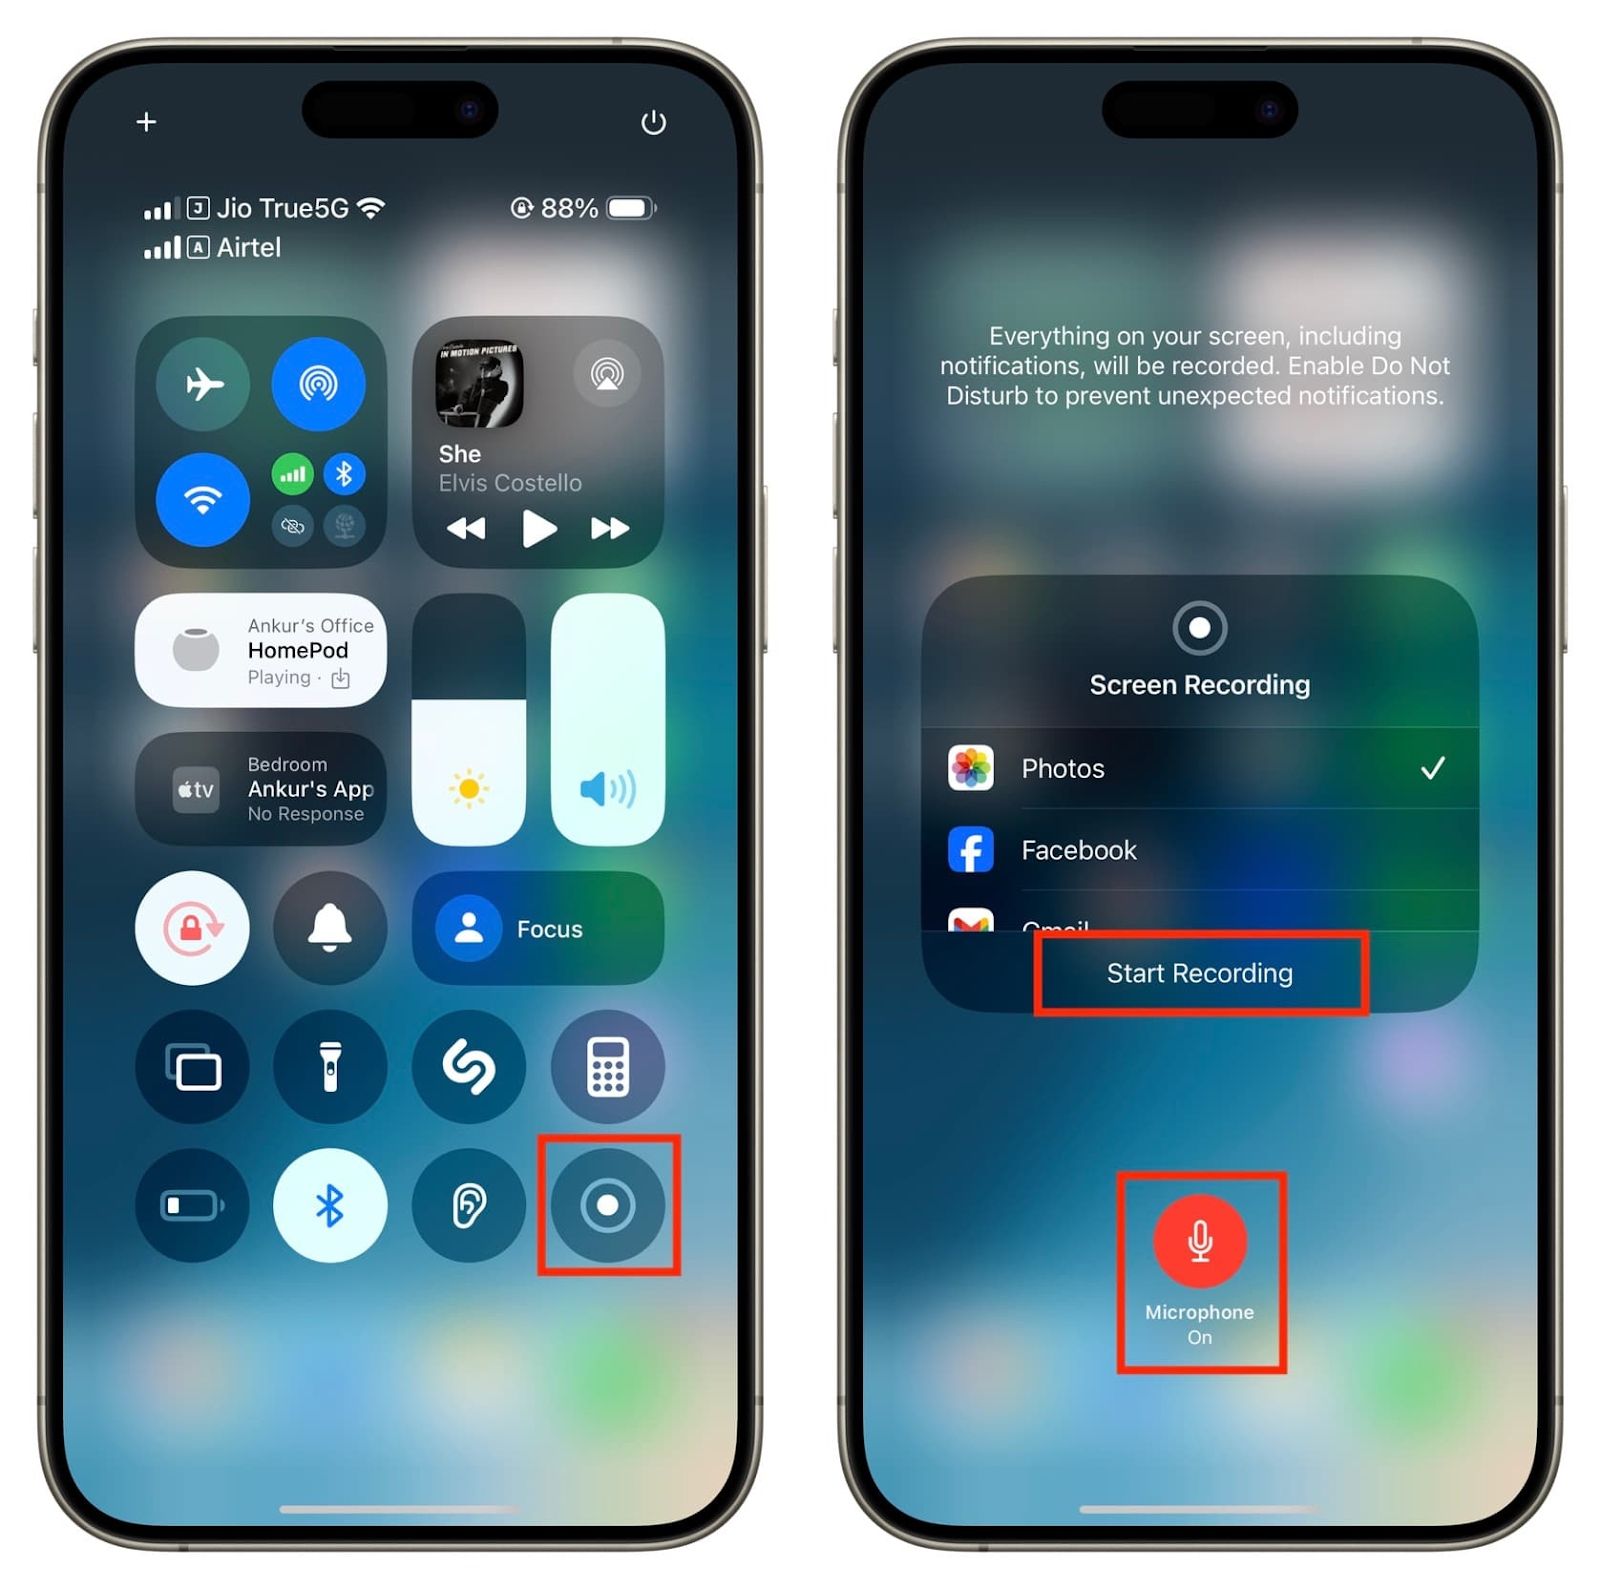
- Open the Control Center.
- Press and hold the record button (Don’t just tap it). A new menu will appear.
- Tap the Microphone icon so it turns red.
- Tap to start recording.
Your voice will be recorded along with the screen. Recording with audio is ideal if you are focused on walkthroughs or tutorials.
Without audio
Follow these prompts:
- Go to the Control Center.
- Tap the record button.
- Watch the countdown and start recording on the third count.
You know the recording has started when your status bar, Dynamic Island, or top indicator turns red. Anything you do on your screen from this point is being recorded.
Managing your screen recordings
Want to stop a screen recording? It’s just as easy as starting. You can either tap the red indicator at the top and hit stop. Another way is to open the control center and tap on the stop screen record button. The recordings are automatically saved to the photo app. You can find them in the recent album or the videos album.
How to edit your screen recording
iPhones have additional and powerful editing features that can be found right in the Photos app. Here is what you can do with the editing tools:
Trim your recording
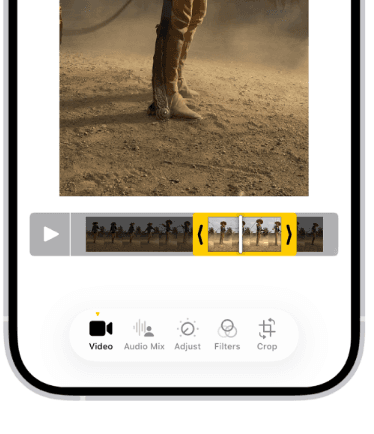
This feature allows you to trim the start or the end of the screen recording, especially the extra seconds where you fumble before you start the recording. Here is how to trim your screen recordings:
- Open the video in the Photos App.
- Tap edit.
- Drag the slider handles left or right.
- Tap done when you are satisfied with the editing. You can choose to save the video as a new clip.
Crop your screen recording
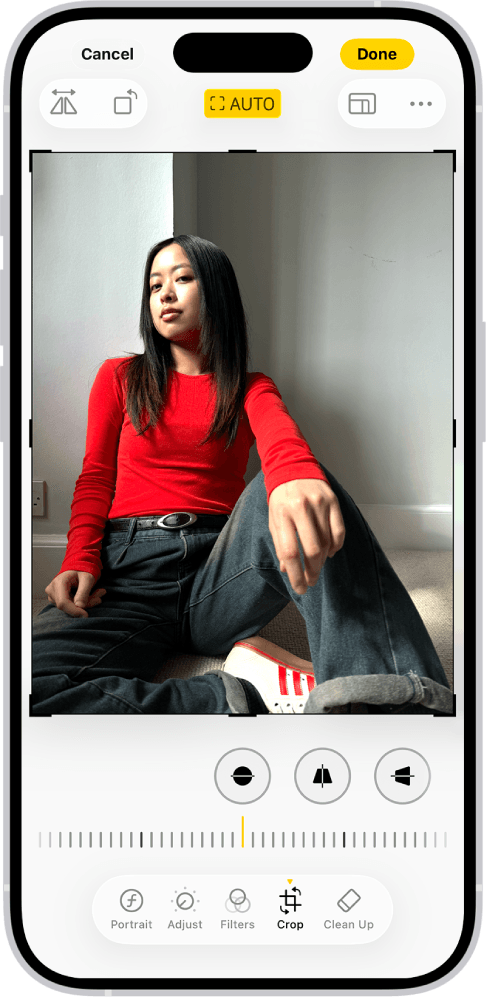
This feature comes in handy when part of the screen recording is messy or shows something irrelevant. Just like the trim features, to access the cropping tool, tap on ‘edit,’ then tap the crop icon and adjust as you need.
Add markup
With the iPhone’s editing tool, you can add drawings, highlights, or shapes if you need to point things out.
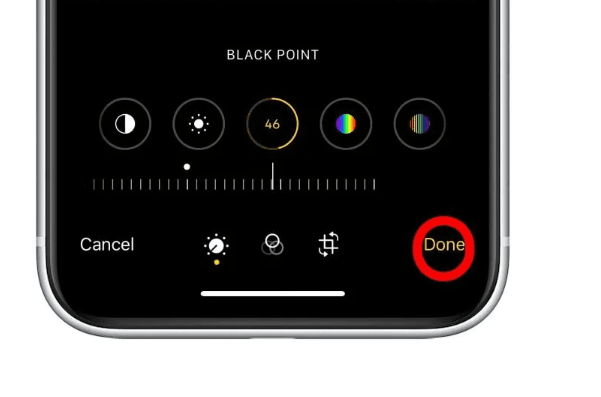
Change exposure and adjust brightness
This comes in handy if your recording looks dark or washed out.
Additional tips for better screen recordings
For the most part, screen recording is straightforward. However, we have a few handy tricks that will help make your recordings much better and more professional. You can use these tips if you are creating content and sharing tutorials for commercial use. They include:
- Put your device on ‘Do Not Disturb’: This will prevent notifications, calls, or messages from popping up while you’re recording.
- Keep your volume right: Are you using audio in your screen recording? If so, check and set the volume before you start recording. The screen record captures the current volume level of the system output.
- Close any unnecessary apps: Close any app apart from the one you’re using. Having apps running in the background can make the screen recording video lag a bit.
Creative use of screen recordings
The screen recording tool is pretty useful in everyday life. Besides making paid tutorials or helping a friend learn an app, creators also use it to show quick app demos and put together short social media clips. Are you into games? You will love this tool. You can use it to capture epic gameplay moments, high scores, or share funny glitches with your friends.
Don’t forget the little fun stuff, like saving disappearing messages or those hilarious video snippets from apps that may not allow you to download their content.
Common problems & how to fix them
Here are some common ones you’re likely to come across, and different ways to fix each of them:
Problem 1: Screen recording does not start or crashes
How to fix:
- Restart your iPhone: Most of the time, restarting your phone clears minor glitches.
- Disable screen time restrictions. Open Settings, tap Screen Time, and choose Turn Off Screen Time.
Problem 2: Your recording has no sound
How to fix:
- Check the microphone (it should be on): Press and hold the record button on the Control Center. A small menu will pop up, turn on the microphone, and hit ‘start recording.’
- Double-check the restrictions: Go to Screen Time in the device’s settings, then tap Content & Privacy Restrictions. Confirm if the screen recording is set to ‘allow.’
Problem 3: The screen recording button is grey
How to fix:
- Go to Settings, and then scroll to the Control Center. Tap the minus (-) icon next to screen recording. Close the settings app and reopen it. Tap the plus (+) icon to re-add the screen recording.
Problem 4: Screen recording does not save
How to fix:
- Check whether your iPhone has enough storage space. If not, delete some apps or files.
- Restart your phone.
- Sometimes, low power mode can mess with screen recordings. Just head to Settings> Battery, then turn off Low Power Mode.
Master iPhone screen recording with ease
Screen recording on your iPhone is one of those “why didn’t I know this sooner?” hidden gems. Imagine recording a step-by-step tutorial for a friend; all it takes is just a few taps. And the best part about this feature is that it's not just about recording; it will make the recordings professional. You can also trim awkward pausing and unnecessary parts.
So, go ahead and explore. Record tutorials, create screen casts, or just have fun experimenting. With this guide, mastering screen recording is easier and even better now that you know how to handle pesky issues that sometimes pop up.
FAQs
Can I screen record FaceTime calls?
Yes, seek consent from the other person before recording as a way of showing you respect their privacy.
Can I record internal audio only?
Yes, just ensure the microphone is turned off to avoid recording external sounds or your voice.
Can I screen record phone calls?
No, Apple blocks this feature for privacy reasons.